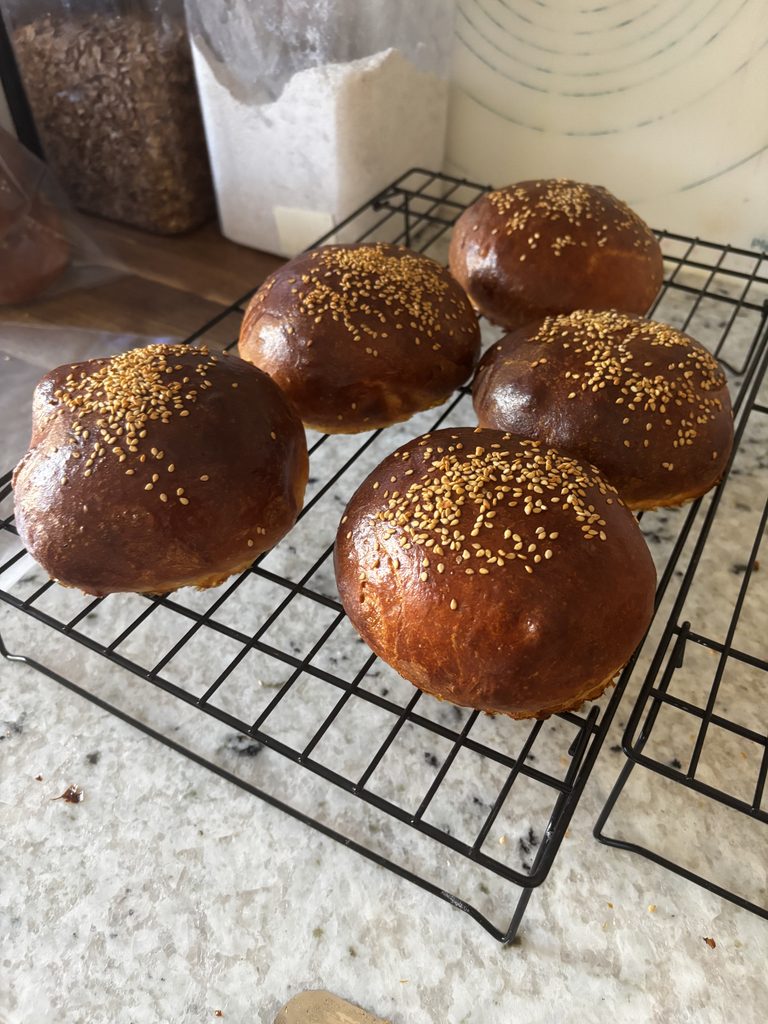
Elevate burger night with great brioche buns
I try and focus on the food, the recipe and a little bit of backstory in my blog posts. Many people just want the recipe and to get on with the cooking. A bit of musing on expertise, equipment and use of AI in this blog post, so bear with me for a couple of paragraphs.
I bake almost all the bread and related products in my house and I gift them to family and friends; white bread, everyday whole grain, rye, babcha, chocolate sourdough, focaccia, fougasse, crackers, muffins and quick breads. I could go on. I have space for specialised equipment; literally a separate kitchen with lots of cupboards and counter space. I started baking to feed my family better quality food. I’ve been on a couple of courses but I’m mostly self taught – YouTube is a wonderful thing. I flirted with the idea of a micro bakery in retirement but life had other plans.
Side note: I remember watching a programme with Greg Wallace where he was raving about industrial bread production – 3 1/2 hours from flour to cooled, sliced and packaged loaves being loaded on trucks. He conveyed this with wonder but I was horrified.
Bread is accessible to anyone, you don’t need the specialised equipment, the space, the ability to make 36 brioche rolls at a time. A desire for simple quality food is enough. It may take longer. But I’m an honest person and there are recipes I would not make without the specialised equipment. I try and identify the specialised equipment and a work around if one is available.
I use AI, mostly Grok, to improve my cooking. If you ask, it will give you a recipe for anything. It’s useful for using up stuff – I found myself with a glut of canned chickpeas and canned tomatoes and it came up with a number of decent recipes for using up the glut. With no clunky interface. But where I find it very helpful – I can ask it expert questions and evaluate the answers. I’ll tell you where in the recipe I asked Grok for input. I was musing on the most obvious misuse of AI; blind acceptance of the answer. Almost all AI will hallucinate – the answer seeking function in the model drives it to tell you something even if the something is imaginary. My only suggestion – ask the AI but verify, either to the source material or based on your own expertise.
Enough musing, let’s cook
Recipe
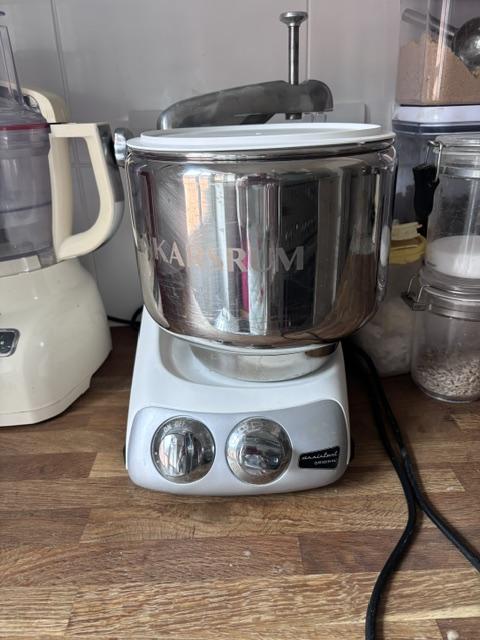
This recipe makes 8 good sized burger buns. I do a double batch of this – but I use my Anskarum machine. See further discussion at the bottom. If you’re using a stand mixer for the mixing and kneading, a standard Kitchenaid will not cope with the weight of a double batch. Enriched dough like brioche is very heavy and you might burn out the motor. A heavy duty Kitchenaid or an Anskarum will do it. These are sturdy enough for loaded burgers yet soft and buttery.
Ingredients
- 3 large eggs, divided (2 whole + 1 yolk for dough; reserve white for egg wash). A large egg is 60 grams or more.
- 170 grams (12 tablespoons/1½ sticks) unsalted butter, cut into 12 pieces, softened to cool room temperature
- 160 mls (⅔ cup) + 1½ teaspoons whole milk, divided
- 360–390 g (3 cups) bread flour (or all-purpose; bread flour gives better structure), plus more for dusting
- 40 g (3 tablespoons )granulated sugar
- 11 g (3½ teaspoons) instant or active dry yeast
- 2¼ teaspoons kosher salt (or 1½–1¾ tsp table salt)
- More butter, melted or neutral oil for the bowl
- Optional: 2 tablespoons sesame seeds (or everything bagel seasoning)
Method
- Prep the ingredients:
Crack 2 eggs into a bowl. Separate the third egg—add the yolk to the bowl and refrigerate the white for the wash later. Cut the butter into pieces and let everything sit at room temperature until the butter is soft but not greasy (about 1–1½ hours). - Proof the yeast – even with instant yeast it does not suffer from proving. Warm 160 mls milk to 50 C (warm but not scalding). Add the sugar and yeast. Allow to prove (bubble) for about 10 minutes.
- Put the eggs in the mixer bowl, add the milk, sugar and yeast and beat briefly to combine. .Add the flour and salt. Mix with the dough hook on low until a shaggy dough forms (about 2 minutes). Increase to medium-low and knead until it starts coming together into a smoother ball (another 2 minutes).
- Start adding the butter: With the mixer on medium-low, add the butter one piece at a time, waiting until each is fully absorbed before adding the next. Once all the butter is in, increase to medium and knead until the dough is smooth, elastic, shiny, and passes the windowpane test (you can stretch a small piece thin enough to see light through without tearing)—about 8–10 minutes total. The dough will be soft and slightly sticky; that’s normal for brioche. Scrape the bowl as needed.
- Resist the desire to add more flour unless you cannot work with the dough. You’re doing a cold first rise so the dough will naturally be much firmer when you are working with it.
- First rise: Lightly oil or butter a large bowl. Form the dough into a ball, place it in the bowl, and turn to coat. Cover tightly with plastic wrap and refrigerate until roughly doubled, at least 12 hours and up to 18 hours. This develops better flavor and makes shaping much easier.
Same-day option: Let rise at room temperature in a warm spot until doubled (1–1½ hours), then proceed. You can do this but you will inevitably add flour to be able to work with the dough and your buns will get a little tough. - Shape the buns: Line 2 baking sheets with parchment. Turn the cold dough out onto a lightly floured surface and divide into 8 equal pieces (about 90–110 g each for standard burger size). Don’t eyeball this – weigh your pieces. Keep pieces covered so they don’t dry out.
- Shape one at a time: Pull the edges of a piece into the center, flip so the smooth side is up, then cup your hand around it and roll in a circular motion on the counter to tighten into a smooth, taut ball (seal the bottom seam). Place 4 buns per sheet, spaced well apart. Here’s a short on shaping – brioche buns
- Second rise: Loosely cover with plastic wrap or a clean towel. Let rise in a warm place until doubled and puffy (1½–2 hours). They should spring back slowly when gently poked, leaving a slight indent.
- Bake: Arrange oven racks to divide the oven into thirds and preheat to 190°C. Whisk the reserved egg white with the remaining 1½ teaspoons milk. Gently brush the buns with the egg wash (don’t deflate them). Sprinkle with sesame seeds if using.
Bake for 8 minutes, then rotate the sheets front-to-back and top-to-bottom. Continue baking until deeply golden brown and an instant-read thermometer in the center reads at least 190°F (about 5–8 more minutes, total 13–16 minutes). Bottoms should sound hollow when tapped. - Cool: Let cool on the sheets 5–10 minutes, then transfer to a wire rack to cool completely before slicing.
Tips for success
- Dough starts sticky after the butter goes in—resist adding extra flour or the buns will be dense. Lightly oil or flour hands if needed.
- Cold overnight rise is worth it for flavor and easier handling.
- For slightly larger buns, divide into 6 pieces. For sliders, divide into 12–16.
- Store cooled buns airtight at room temperature up to 3 days, or freeze (slice first if desired). Refresh in a low oven.
AI Questions
- I started out asking Grok for a recipe for simple brioche rolls. 1st lesson – most AI models default to American usage so it gave me a recipe for 12 brioche dinner rolls, made in a muffin tin with no kneading. Sounded nice but I was really looking for burger buns with good structure to hold up to some juicy burgers so I refined that.
- Grok – I want burger buns and I don’t mind kneading. Grok obviously interpreted ‘simple’ as low physical input. Recipe returned the ingredient list above with slightly different methodology.
- Grok – can I do a double batch in my Anskarum? Grok agreed yes, a double batch was reasonable in an Anskarum or a KitchenaidPro
- And checked my assumption on proving yeast, Grok said yeah okay.
Specialist kit
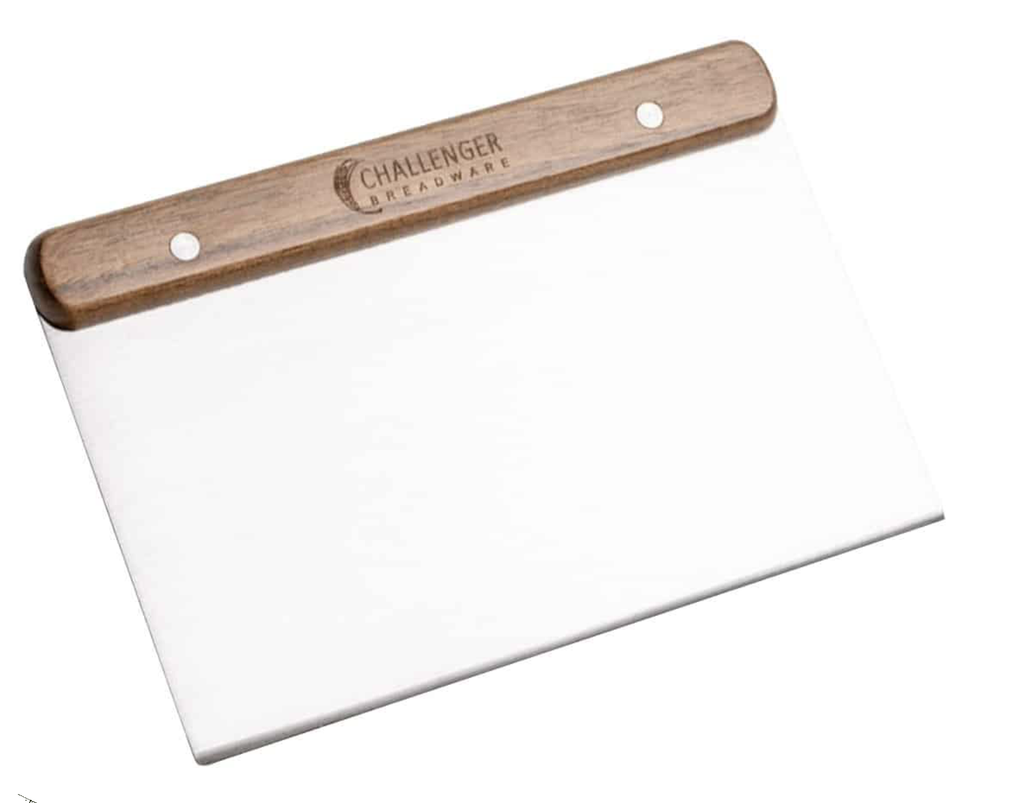
Worth it for me because I do a lot of baking. Here’s some things that make life easier. The Anskarum works by rotating the bowl not the mixing element, hence it can handle more dough and heavier dough.

Thank you for reading, subscribing and cooking the recipes. Comments appreciated, follow me on Instagram at mamadolson.