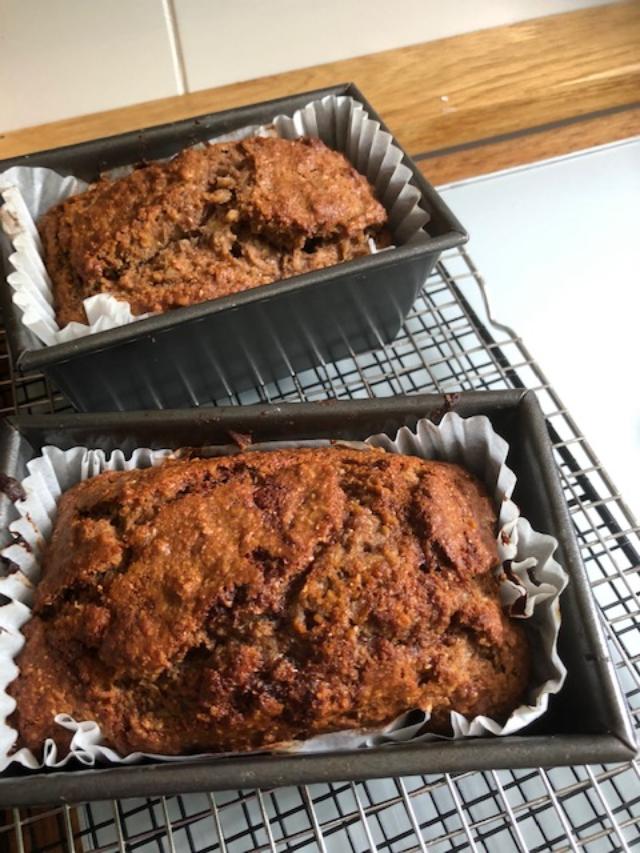
Mama Dolson's Bakery & Hangout – Page 8 – When words fail us, food says love.
 
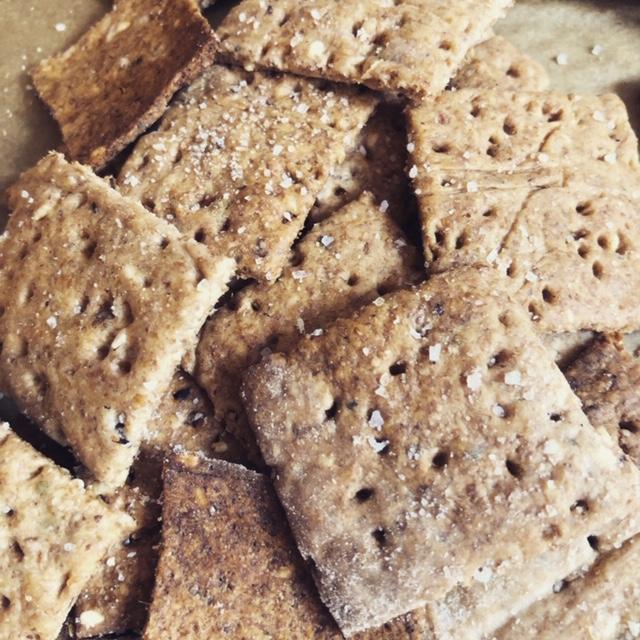
Your own crackers – nothing like what comes out of a box!

You don’t need sourdough starter discard to make this recipe, I’ve included a version below without starter. With the sourdough starter – it is A-M-A-Z-I-N-G. Without the starter, it’s still great and will make better crackers than you can buy. The recipe is infinitely flexible; you can change the type of flour, the type of fat, the seasonings, the type of seeds and the toppings. I suggest that you make it as per the instructions the first time to get the technique down.

I made this several times, altering the seasonings each time until arriving at this recipe. The Davinator said ‘write that one down quick so you don’t lose it’.

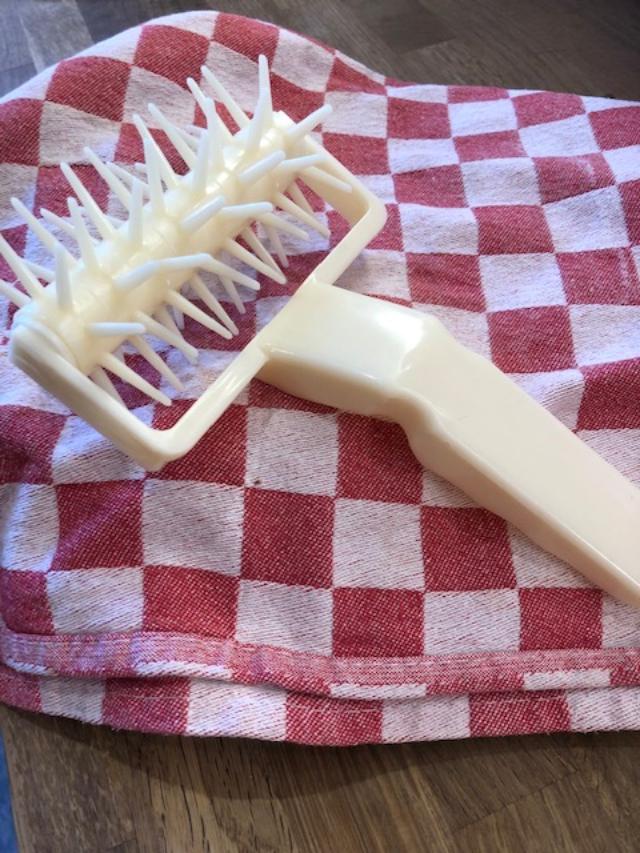
Is this recipe easy? It requires some technique. This is a good recipe to practice your rolling technique and working with parchment paper because the ingredients are inexpensive. There are a couple of gadgets that make it easier and quicker. But you don’t need the gadgets. Useful gadgets for this recipe; a marble rolling pin, a spike dough roller and pizza cutter.

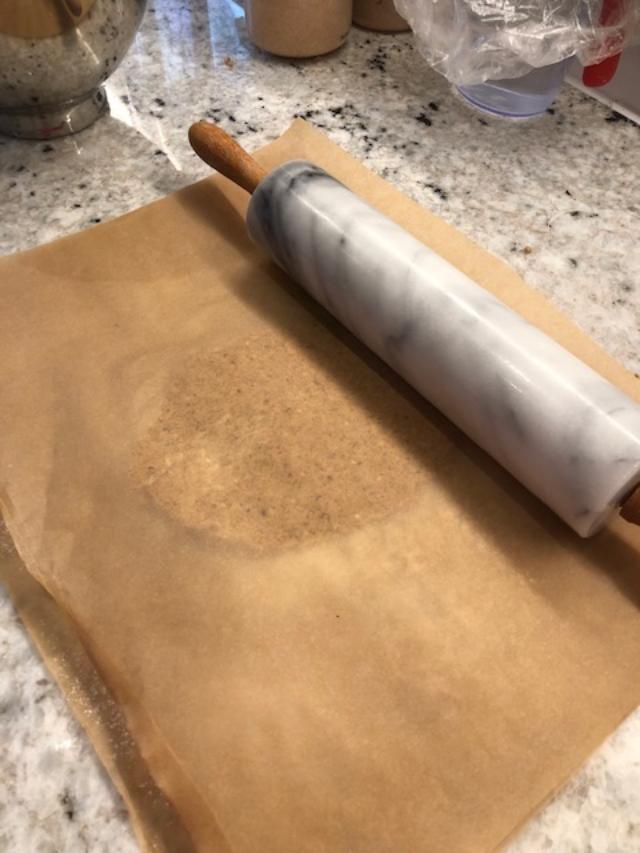
The good trick in this recipe – roll out the dough between two sheets of parchment paper. You can roll thin and even and make lovely crackers.
Recipe

Ingredients (see all the flexes below)

  • 350g sourdough starter discard
  • 100g whole wheat flour
  • 100g all purpose or bread flour
  • 60 mls olive oil
  • 1 Teaspoon salt
  • Water – a couple tablespoons as needed to bring the dough together
  • 1 teaspoon of chilli flakes, crushed ( I ground in a small mortar)
  • 2 teaspoons of Italian herbs
  • 2 teaspoons of sesame seeds
  • Salt grinder for topping
  • All purpose flour for rolling out

Method

  1. Pre-heat your oven to 160C fan (180C with no fan) (350F)
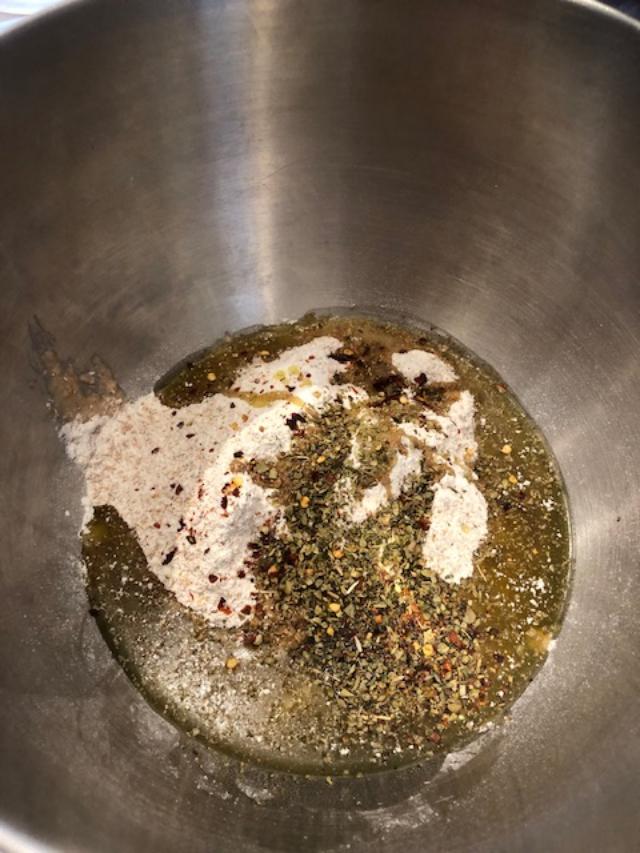
  2. Put all the ingredients except the water in a bowl that fits your mixer. Mix well, then use the dough hook and ‘knead’ in the mixer for 3 minutes or so. You’re not trying to develop gluten here so longer isn’t better.
  3. If the dough has formed into a ball, you’re ready to roll out. If not, add cold water a tablespoon at a time and knead for 30 seconds until the dough comes together in a ball. Should take one or two tablespoons at the most.
  4. Cut parchment to fit your baking sheets. I used four baking sheets to bake these crackers, you can rotate yours. You also need at least one additional parchment sheet to use as a cover.
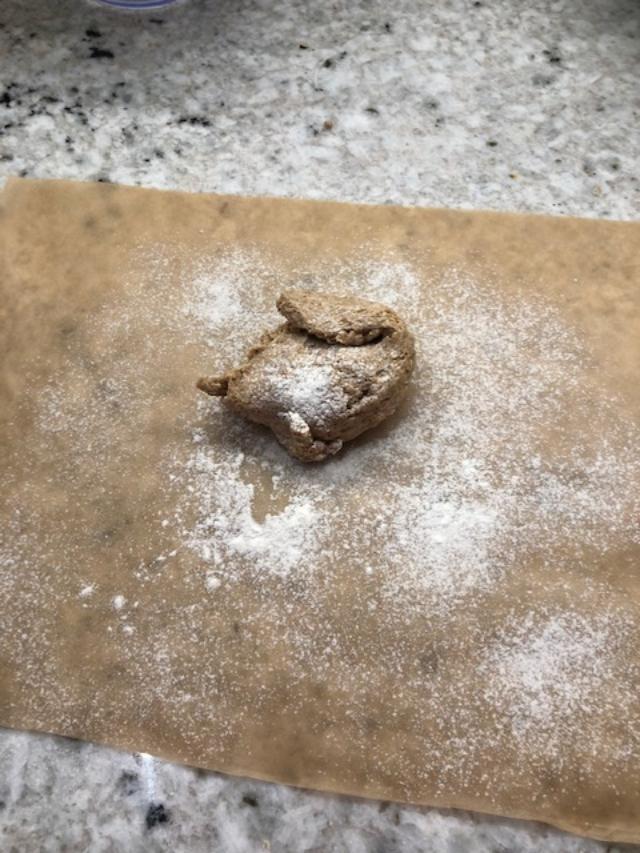
  5. Place a sheet of parchment on your rolling surface. Flour the parchment, place about 1/4 of the dough on the sheet. Flatten with your hands, and flour the surface. Roll the dough flat and as thin as your nerve will tolerate. This is where the heavy rolling pin comes into its own – focus on getting the middle part flat and then the edges.
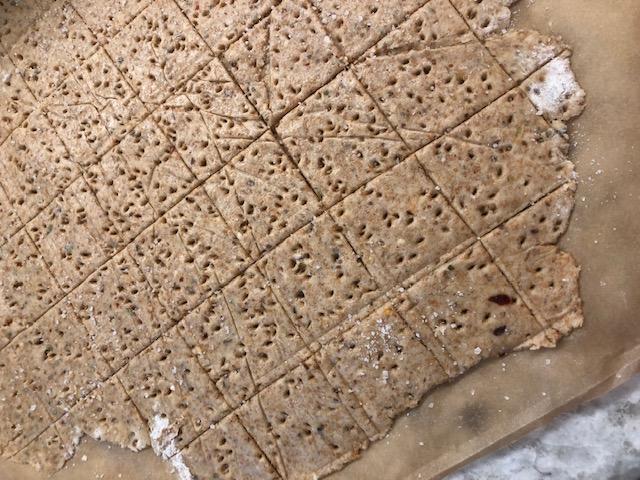
  6. Flip the parchment with dough over and peel off what was the bottom piece (easier than peeling off the top piece). Using a fork or your spiky roller punch a lot of holes in the dough. Puncturing the dough keeps your crackers from getting puffy. Take your pizza cutter or a knife and cut the crackers into pieces. You do not need to separate the crackers on the parchment.
  7. Slide the parchment onto a baking sheet and place in the oven for about 20 minutes on the upper shelf. I put the first sheet in and then roll out the second. At 10 minutes, I move the first sheet to the lower shelf and put the new sheet in on the upper shelf. Or prep two, rotate them half way through.
  8. 20 minutes is a guide – keep an eye on the crackers because the edges will usually be thinner (especially in the beginning) and will brown more quickly.
  9. Remove from the oven and let them cool on the baking sheets if you can so the crackers get just a little crisper. If the crackers feel soft or chewier – put them back in the oven for 3 minutes at a time.
  10. Let cool before eating, In theory, these will keep for 10 days to 2 weeks. In this house, there have never been any left after 48 hours.
Flexing this recipe

There are so many ways to customise this recipe. Here are some suggestions:

  1. No sourdough starter? Use 175 grams of flour (whole wheat, bread, all purpose) and 175 mls of water instead. You won’t get the sourdough tang but still really lovely crackers.
  2. Vary the mix of flour in the recipe. Use rye, more white, less white, more whole wheat. I haven’t used any alternative flours like blue farina or spelt but it’s worth a try. Keep an eye on how much water you need.
  3. Use different types of fat. I’ve used butter, bacon fat, sesame oil (very strong taste). We’ve settled on olive oil. Your fat should be liquid when mixing the dough so melt in advance.
  4. Go wild with the seasonings. You can use up to 6 or 7 teaspoons of small seeds – sesame, black sesame, flax, hemp. Rosemary. Black pepper. Cumin. Oregano. Garlic or onion salt. Use combinations that you like and what you have in the cupboard. I found three open containers of chilli flakes – hence the chilli in this recipe.

Thanks for reading the blog. Please like, follow and share. Send comments and pictures if you’re cooking the recipes.
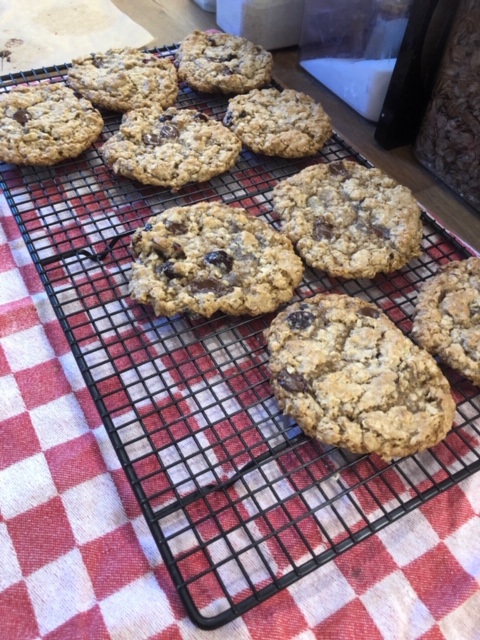
Maybe the best cookies I’ve ever made.

I’ve been working on my sourdough bread recently and try to strengthen my starter (named Liz by the way after a baker and teacher who has inspired me. I also like to take a treat for the team and clients at Smartworks where I volunteer on Wednesday. These two things came together and resulted in some of the best cookies I’ve ever made.

When you’re trying to strengthen your sourdough starter, you feed your starter everyday. This means you have discard. On the one hand, it’s only flour and water, on the other hand, I don’t like to throw stuff away. I was searching for things to make with the discard and found the basis for this recipe. I did misread the quantity in the original – it said ‘makes 20 cookies’. Accurate but those would be 20 giant American cookies, not cookies sized for normal humans. Even too big for the Davinator.

In my test bake, I rashly doubled the recipe and so I had enough dough for 40 giant cookies. I recalibrated the size (made them smaller) but of course that meant we had a lot of cookies. It rained cookies on friends and family.

The recipe below is adjusted to make 40 cookies for ordinary humans. You might not be a sourdough baker today. But these cookies are so good it’s worth making sourdough starter just for these bad boys.

Recipe

Ingredients

  • 113 grams plain white flour
  • 1 tsp baking soda (4 grams)
  • 1 tsp salt (6 grams)
  • 55 grams unsalted butter, melted
  • 86 grams vegetable oil (corn or sunflower)
  • 1 tsp cinnamon
  • 175 grams brown sugar (any type)
  • 110 grams caster sugar
  • 70 grams sourdough starter discard (can be straight from the fridge)
  • 1 egg
  • 1 egg yolk
  • 1 tsp vanilla extract
  • 280 grams rolled oats (not instant oatmeal)
  • 60 grams dried cranberries or raisins
  • 100 grams chopped walnuts
  • 100 grams good quality chocolate chips (any variety – milk, dark, white as you like)

Method

Preheat your oven to 190C (170C fan). Cover several baking sheets with parchment paper.

  1. Whisk flour, salt and baking soda (SODA) together in a bowl set to one side.
  2. Chop your walnuts. You make want to rough chop your dried fruit as well depending on the size. Combine with the chocolate chips and set aside.
  3. Melt the butter (microwave works well) and allow to cool for a few minutes. (Make a cup of tea or play a round of Angry Birds).
  4. Stir the cinnamon into the butter. Follow with the brown sugar, caster sugar and oil – whisk until well combined. The mixture should be close to room temperature by now.
  5. Add the sourdough starter, the egg, the yolk and the vanilla – whisk again until well combined.
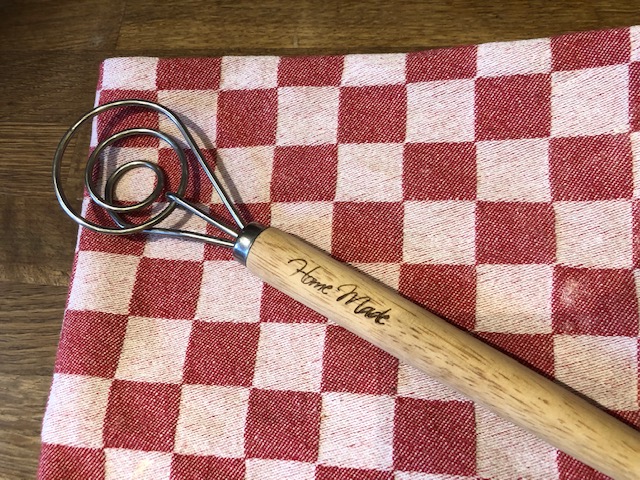
  6. Using a wooden spoon, spatula or a dough whisk (see photo below) stir in the flour mixture.
  7. Follow by folding in the oats, fruit, nuts and chocolate. The mixture should be thick and stiff. Resist the temptation to eat it raw immediately. It looks yummy but it’s even better after baking.
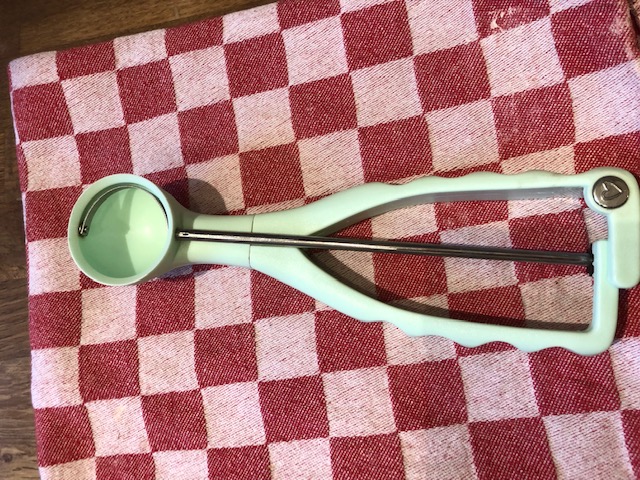
  8. Measure out your dough balls. I use a small trigger scoop (see photo below). You want about 1 1/2 to 2 tablespoons by volume for each dough ball.
  9. Drop the dough on to the baking sheets, leaving about 5 cms between each cookie. Flatten slightly with your fingers or a spoon. The cookies will spread when baking.
  10. Bake one sheet at a time for 8 to 10 minutes. The centre should be soft but not wet and the edges crisp and starting to brown.
  11. Cool on cookie sheet for five minutes then transfer to a rack to cool completely.

Let them cool please, don’t burn your mouth like someone I know did. These cookies keep well for five days or more in the fridge. I stored mine in a cardboard box with parchment paper. Avoid a sealed ziplock or a plastic container as the cookies are very moist and will get soggy, I think.

Happy baking. Please comment, share and send requests and photos of your baking.

My homage to Paul Simon, folks.  This blog post does not have 50 recipes for your courgettes (neither does the song list the 50 ways) but it should help you use your produce.

 What is it about courgettes that make them so prolific? They must be hardy enough to resist ambivalent (and lazy) gardeners (like me).  My first year, I put in six, yes six courgette plants.  OMG – did we have a lot of courgettes.  Now I plant three.  Some bit of ancient vegetable growing wisdom I have retained says three is the minimum number for pollination purposes.   Even three produce a lot of courgettes most years.

I really hate to throw away food I grew myself.  I have therefore accumulated a number of ways to prepare, preserve and eat courgettes.

 Here’s my round up of ideas and some specific recipes to make eating courgettes a joy not a chore. Hopefully, something for everyone. All of these recipes I’ve test cooked and the Davinator has eaten. 

  1.  KISS – keep it simple, spiralize.  A spiralizer (many choices for less than £10 on Amazon) turns your vegetables into noodles.  Sautéed in butter, added to soups, salads and stir fry. Cover them with your favourite pasta sauce.  This is super use of the squash, especially when you harvest early and don’t let them turn into seed filled giants.
  2. Just eat your vegetables.  Slice into 5 millimetre pieces, then chop in half.  Cook in boiling water or steam for 2 to 5 minutes depending on size and your preferences on the texture of your vegetables.  Alternatively, cut 1 inch slices and quarter these. Sauté in butter with a few chilli flakes and salt and peppel. Divine.
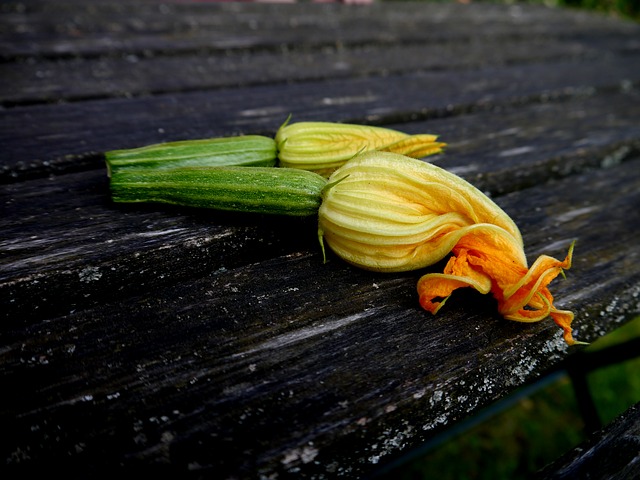
  3. Get your revenge in first.  Make fried-courgette flowers.  Pick the flowers on stems (will never be courgettes) or small courgettes when the flowers are still attached.  You can either fry the flowers with the small courgettes attached or separate them and cook them separately.   Recipe link here: <fried courgette blossoms>
     
  4. Use your weapon of mass consumption.  There’s nothing like chutney to use up large and diverse amounts of fruit and vegetables.  Sugar, vinegar, spices, onions and then a squash, a vegetable and a fruit component.  Here’s my recipe – <courgette chutney>.
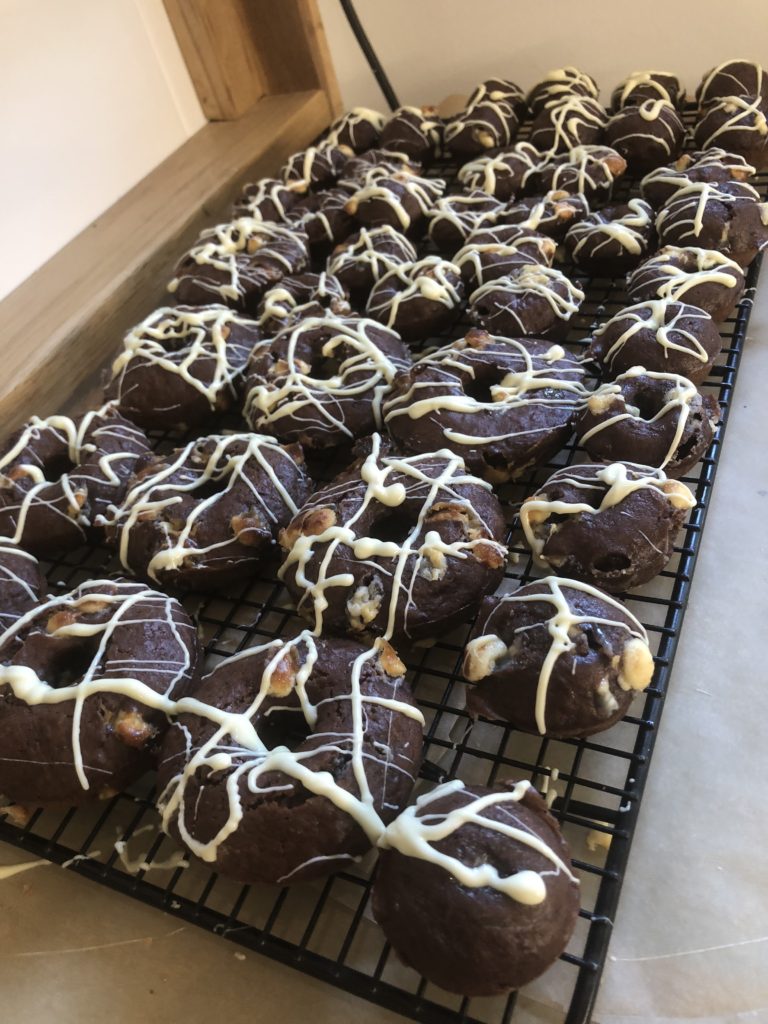
  5. Do it doughnut style.  Baked chocolate courgette doughnuts are about the healthiest doughnuts you can make and eat.  Of course, ‘healthiest’ doughnuts maybe a low bar but this recipe produces crowd pleasing treats – <chocolate courgette doughnuts>.
  6. Put summer in a jar.  Courgette marmalade with ginger and lemon tastes like summer when you open it in November or gift it to good friends at Christmas time. This is not a recipe for newbies to making jam and marmalade but if you’re not intimidated by boiling sugar go for it.  Link here:  <spiced courgette marmalade>.
  7. Hide the vegetables by burying them in deep dark chocolate cake. It’s all in the name.  This is a favourite of family, friends and co-workers.  So rich, it doesn’t need any icing or topping but you can go wild and slather it in whipped cream.  Link here. <deep dark chocolate cake>.
  8. Pixar it up. One of my favourite Pixar movies is Ratatouille.  And you don’t have to be a Parisian rat to make awesome ratatouille.  Most cooks have a favourite recipe but ratatouille is very flexible. The core ingredients are courgette, aubergine, tomatoes and peppers.  Here’s a basic recipe that uses canned tomatoes but if you’ve got a glut go ahead and use them.  I would peel and core the tomatoes if you’re using fresh.  Link here: easy and flexible ratatouille.
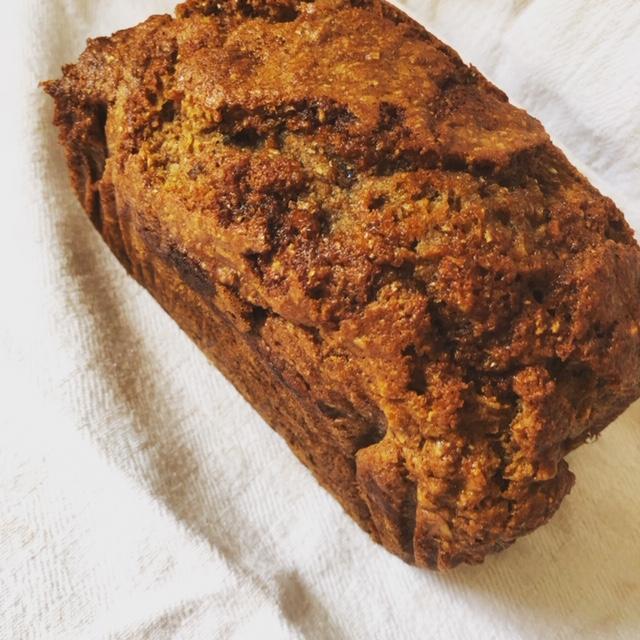
  9. Quickly now. Make quick whole wheat courgette bread.  It’s simple and quick and makes a good on the go breakfast treat. Link here: <whole wheat courgette bread>.
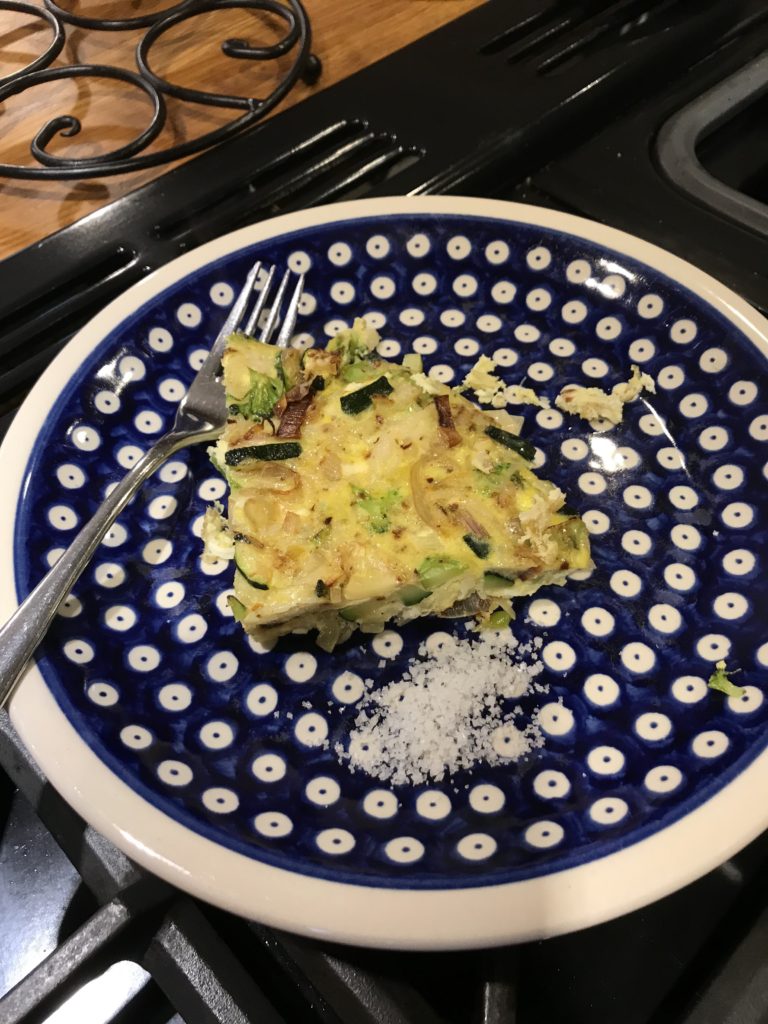
  10. Round up……. Time to use your imagination and Google: courgette fritters, courgette terrine, courgette soup, tomato courgette spaghetti sauce.  Frittata with courgettes is one of my favourites. Link here: < frittata with courgettes>
  11. Soup it up. Here’s the best courgette soup recipe I’ve found.
  12. Get grilling. This is my new favourite grilled vegetable recipe.
  13. Courgette and herb pilaf, you’ll never notice the courgettes.

Hopefully, these recipes will help you mop up the courgette tsunami and dig out from under the zucchini avalanche.  Thank you for reading the blog.   Please send comments, suggestions and requests.

Courgette (zucchini) chutney – weapon of mass consumption for excess fruit and vegetables

| Comments Off on Courgette (zucchini) chutney – weapon of mass consumption for excess fruit and vegetables

Tackle the courgette tsunami with this easy chutney recipe

You’ve made fried courgette flowers, ratatouille, chocolate courgette donuts, courgette marmalade and spiralised seemingly countless squash. What’s left? Time to make chutney. Chutney is a mixture of fruit, vegetables, vinegar, spices and enough sugar to bind it all together. It is usually eaten as a condiment (like Branston pickle or piccalilli) but I can’t swear that the Davinator has not eaten a sneaky chutney sarnie from time to time.

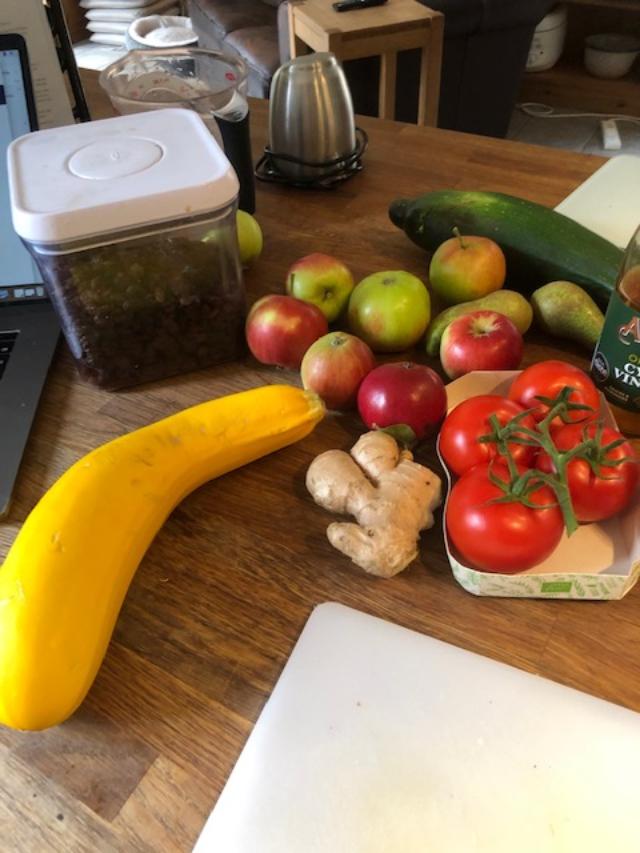
Like ratatouille there are an endless number of chutney recipes on the internet. And to be honest if you cook it long enough and slow enough, ingredients become chutney. This one works for me – the main ingredients seem to ripen at the same time in my garden. It’s based on a recipe from BBC GoodFood which has a wealth of practical and straightforward recipes for home cooks.

Once you’re comfortable with the recipe it’s easy to vary the component fruit and vegetables. The ‘chutney base’ is the vinegar, sugar and spices. Then it’s a squash element, a vegetable element (don’t start on tomato is actually a fruit) and a fruit element.

Recipe

Ingredients

  • 500ml (17.5 fluid ounces) cider vinegar or white wine vinegar
  • 400g (14 ounces) brown sugar (light or dark)
  • 1 tbsp allspice
  • 2 tbsp yellow mustard seed
  • 3 cinnamon sticks
  • 1 thumb sized piece of fresh ginger, peeled and diced very small
  • onions, chopped
  • 1kg (2.2 pounds) courgettes (zucchini), chopped
  • 1kg (2.2 pounds) tomatoes, chopped with core removed
  • 4 tart eating apples, chopped
  • 300g (10.5 ounces) sultanas (raisins)

Method

  1. Put the vinegar, 300ml water, sugar and spices in a large deep heavy pan. Heat, stirring regularly, until the sugar dissolves .
  2. Add the remaining ingredients onions, courgettes, tomatoes, apples and sultanas) with a tsp of salt.
  3. Bring to a simmer then bubble away uncovered for 2 to 3 hours until darkened, thick and chutney-like. Sometimes mine takes longer. I have turned it off over night.
  4. Time to sterilise the jars. If you prep 6 250 to 300 ml jars that should be plenty. You can watch this video: jam jars or wash thoroughly in very hot soapy water. Rinse in very hot water then put on a baking sheet in a 140C/fan 120C/gas 1 oven until completely dry.
  5. Pour the chutney into the sterilised jars while still hot, seal and leave in a cool dark place. The recipe suggests that you wait for at least 3 weeks before opening. That recipe writer has never met the Davinator. It might improve with age, I’ve never had it stay around long enough to find out.

Thanks for reading the blog. Please let me know if you’re enjoying the recipes, send comments, photos and requests.

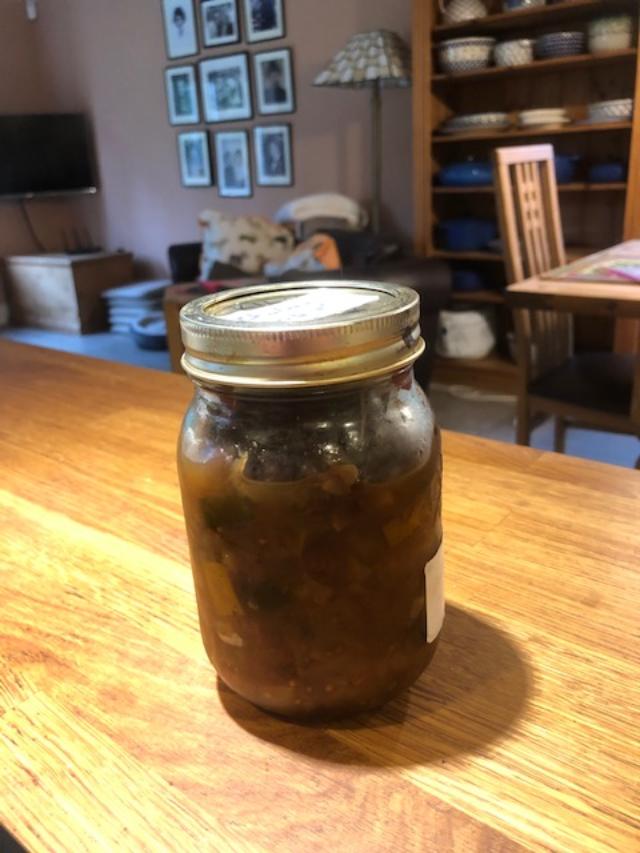
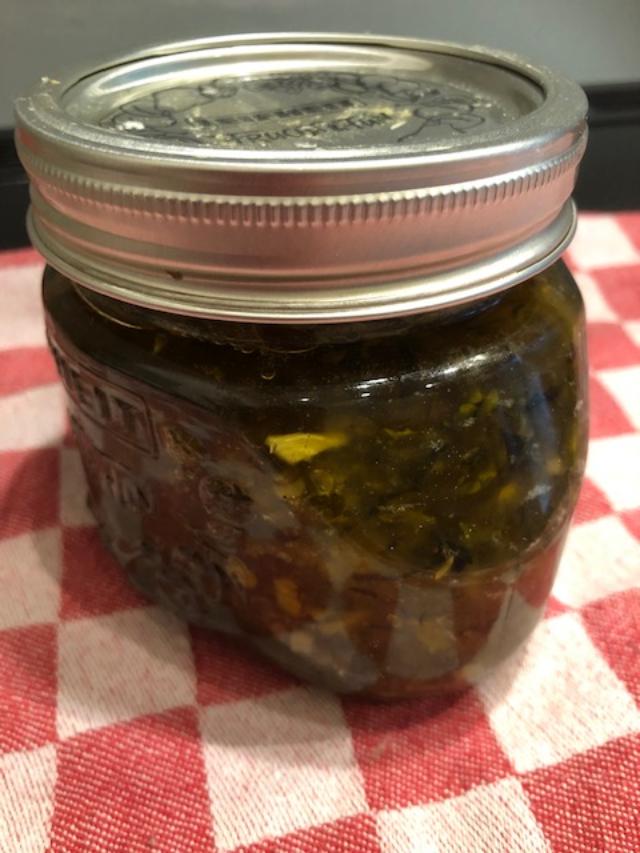
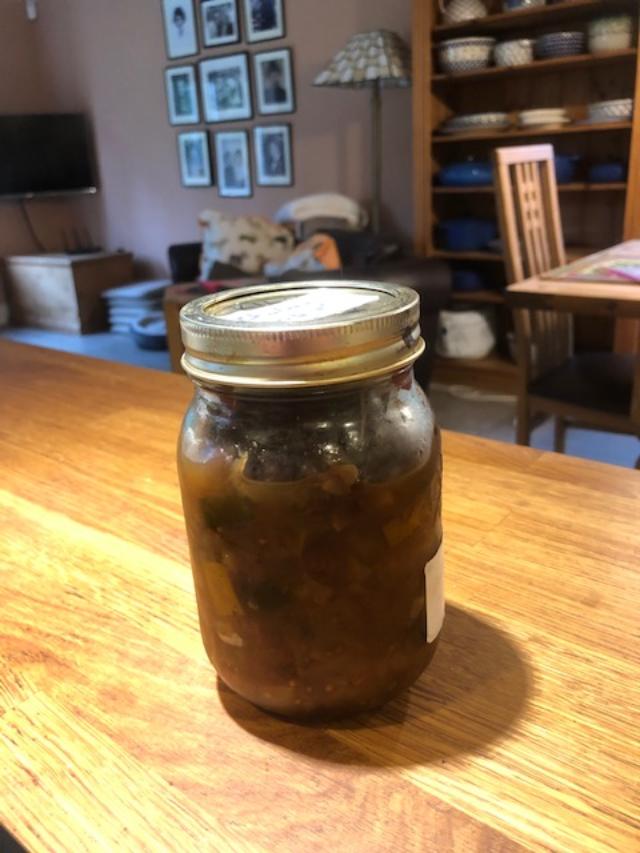
Chutney, like summer in a jar.

Beer batter fried courgette (zucchini) flowers

| Comments Off on Beer batter fried courgette (zucchini) flowers

Just waiting to be battered in beer and fried……

How to deal with the courgette tsunami? The best defence is a good offence – get your punches in early. Pick the courgettes when first flowering (no fruit) or when the courgettes are still little babies. Then deep fry them. In beer batter. That will teach them who’s the boss. Seriously, the most divine way to eat courgettes and to reduce your chances of drowning in the courgette tsunami.

Use some for the courgettes, and the cook can drink the rest. Image by engin akyurt from Pixabay

It’s easy and you don’t need a deep fryer. You have to be prepared to fry in 2 or 3 inches of hot oil though and have a deep heavy fry pan. The secret to these is to cook them and then eat them as soon as they are cool enough to handle.

Recipe

Ingredients

Stuffing & courgettes

  • 12 blossoms (with or without mini-courgettes)
  • 250 grams fresh ricotta
  • 80 grams freshly grated Parmesan
  • salt
  • pepper
  • nutmeg

Batter

  • 125 grams of plain flour
  • Pinch of sea salt
  • 1 egg yolk
  • 175 mls ice cold beer (a good use for lager)

Method

  1. Carefully clean the blossoms, check for insects and remove the pistil (hard bit) from the inside of the flowers.
  2. Spoon stuffing into each flower. Don’t overfill. They will only be cooking for 2 minutes. You want to be able to pinch the top together and twirl it to seal the filling inside. Lay gently on some kitchen towl.
  3. Heat the oil while you’re preparing the batter. Combine the flour and sea salt with a fork in a bowl big enough roll your courgette blossoms in. Then beat in the egg yolk and beer.
  4. Check you oil – either use a thermometer (180C) or drop a cube of white bread in. If it goes brown in under a minute, you’re all set.
  5. Using a slotted spoon, gently lower the flowers into the oil. 2 to 4 at a time depending on the size of your pan. Cook for two minutes, turning them over half way through.
  6. Drain on kitchen towel, sprinkle with some flaky sea salt and serve with lemon wedges.
  7. If you have any leftover filling – lovely on toast.
Lovely crunchy cheesy mouthfuls.

Easy banana walnut bread

| Comments Off on Easy banana walnut bread

This recipe is for a good friend of mine who insists ‘I can’t cook’. This banana bread recipe is made with whole wheat flour and walnuts and has a lovely depth of flavour. And if you can’t cook – your five year old should be able to make this bread (with appropriate adult supervision). It’s a great introduction to the joy of whole grain baking.

We’re back to my retirement quest – cooking every recipe in the King Arthur Whole Grain Baking cookbook. As a quest, it’s completely lacking in organisation and I’m randomly skipping through the book and baking what looks good. Today I was inspired by a request for ‘recipes for someone who doesn’t cook’ and the Davinator’s excess banana purchases. This banana bread recipe is best with the ultra-ripe about to be thrown away bananas – you know that icky black mottled soft to the touch banana. If your bananas aren’t ripe enough, put them in a brown paper back with an apple. Fold the top of the bag closed and leave it overnight. This should convert a ripe banana to an ultra-ripe one.

Basically, the spotty banana to the left is just about ripe enough but if you can bear it – ripen it until more black than yellow. (I forgot to take pictures of the ultra-ripe bananas before I peeled and mashed them). Enough musings on bananas – on to the recipe.

Recipe

Ingredients

  • 60 grams (2 ounces) chopped walnuts
  • 110 grams (4 ounces) unsalted butter
  • 105 grams (3.75 ounces) brown sugar (light or dark)
  • 3/4 teaspoon bicarbonate of soda (baking SODA not baking powder)
  • 1/2 teaspoon salt
  • 1/2 teaspoon ground cinnamon
  • 1/4 teaspoon nutmeg
  • 1 teaspoon vanilla extract
  • 340 – 350 grams (12 ounces) ripe mashed banana (4 or 5 normal sized European bananas – 3 or 4 normal sized American ones)
  • 85 grams (3 ounces) honey
  • 2 large eggs
  • 230 grams (8 ounces) whole wheat flour

Instructions

  1. Preheat the oven to 170C (160C fan) or 350F. Prep your loaf pan or pans. I use two small (450 gram) (1 pound) loaf pans and line them with paper. If you’re using a single loaf pan it needs to be a genuine 9 x 5 or 900 gram (2 pound) pan. I prefer to line with paper but you can also lightly grease with butter.
  2. Microwave the butter for about 45 seconds in a microwave safe bowl. Set it to one side.
  3. Chop the walnuts. I go back and forth on chopping nuts. This is a small quantity and both taste and texture say ‘chop by hand’. Leave ready in a small bowl.
  4. Peel the bananas and mash with a fork or a potato masher.
  5. Combine the butter, sugar, soda, salt, cinnamon, nutmeg and vanilla. Beat well by hand.
  6. Add the bananas, honey and eggs, stir well to incorporate into a smooth batter.
  7. Add the flour and the chopped nuts and again stir until smooth.
  8. Divide between the loaf pans. If using two – you want about 480 to 490 grams of batter in each pan.
  9. Two loaves – bake for 40 minutes. At about 30 minutes check the loaves and if they seem too brown on the top, cover loosely with foil. Using your trusty thermometer – the internal temperature should be around 85C.
  10. One loaf – bake for 50 minutes. At about 35 minutes check the loaf and cover with foil if the top is looking brown and dry.

This bread smells absolutely delicious when cooking. Try and let it cool before cutting. Enjoy and bake on!